
 I have recently seen this idea all over blogland, so I just had to give it a try and I was not disappointed at all! This has become one of my favorite Easter egg art projects, and I think this will be a recurring art project each year since my kids absolutely LOVED it!
First, spread shaving cream (foam not gel) all over a pan or tray. Next, squirt some acrylic paint, poster paint, or food coloring on the shaving cream.

Use a spoon, popsicle stick, or toothpick to swirl (but not too much) to create a marbled effect.

As you can see this is FUN for all ages, even two-year-olds!

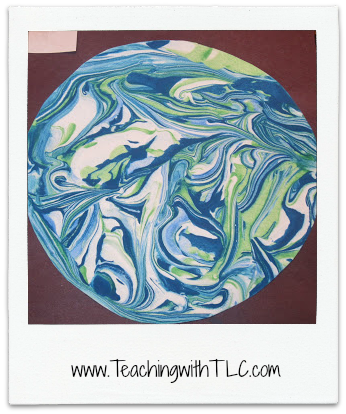
My kids traced an egg template onto cardstock and then cut it out. They gently pressed their paper egg into the shaving cream and let it sit for 10 seconds.

I helped them remove their eggs and I sat them onto paper towels for about five minutes to let the paint soak into the paper.


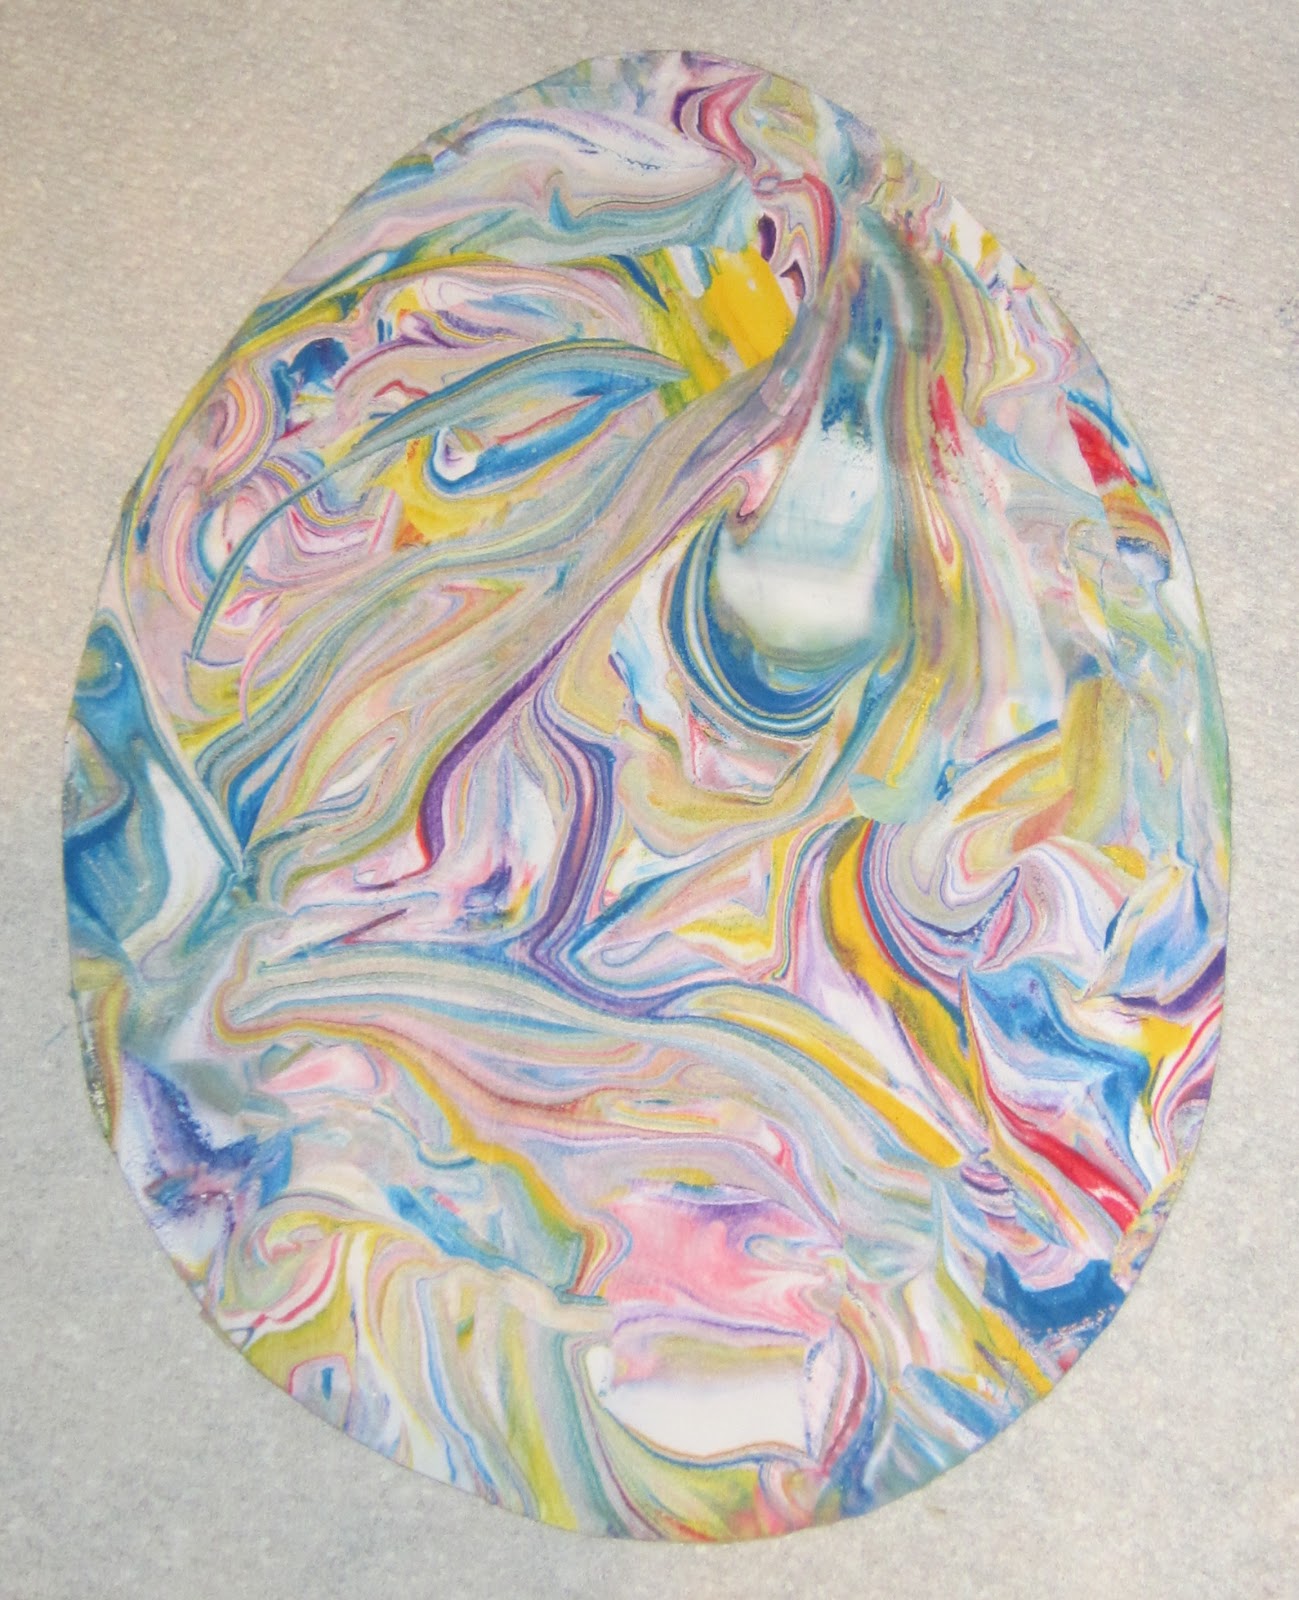
Now here is the cool part- using a squeegee, carefully scrape the shaving cream off of the paper egg. Look at the awesome marbled effect it left behind!

This activity represents my favorite art projects- those that are unique every time and that also teach a lesson, too! Yes, this art project teaches about polar and non-polar substances! Polar substances (ex. water) are generally able to dissolve other polar substances (ex. sugar) but not non-polar substances (ex. oil). The paper and paint are polar substance so the paper absorbs the paint but the shaving cream is mostly non-polar, which will not be absorbed. Don't you just love this?
UPDATE:
Check out this segment I filmed for Fox's Mom Squad to learn how to make a shaving cream craft.
UPDATE:
Check out this segment I filmed for Fox's Mom Squad to learn how to make a shaving cream craft.
My kids are so hooked on shaving cream art that they have made:
shaving cream hearts for Valentine's Day

shaving cream stars for the Fourth of July
.jpg)
shaving cream leaves for fall

Enjoy!

